Tag: Cleaner Manchester

  • Eco Cleaning Products – The Ultimate Recipe Book

    Eco Cleaning Products – The Ultimate Recipe Book

    The Ultimate Eco-Friendly Homemade Cleaning Products Guide

    Clean your home, not the planet. Ditch the harsh chemicals for good.

    Did you know the average home can contain over 60 different toxic chemicals from cleaning supplies? You can replace almost all of them with just a few simple, non-toxic ingredients.

    For verified, science-based recipes for a cleaner home, visit our HOMEMADE cleaning PRODUCTS finder.

    🍋

    Lemon Juice

    Natural acid cuts grease and shines. A powerful deodorizer.

    🧂

    Baking Soda

    A mild alkali that scours surfaces, lifts stains, and absorbs odors.

    💧

    White Vinegar

    Its acetic acid disinfects, dissolves mineral deposits, and cuts grime.

    🌿

    Castile Soap

    A plant-based, all-purpose soap that safely cleans almost any surface.

    Ingredient Superpowers

    Each core ingredient has unique strengths. See how they compare in their ability to disinfect, de-grease, deodorize, and scour tough grime.

    Note: “Scours” refers to abrasive power. Vinegar and lemon are liquids and have no scouring ability on their own.

    Waste Reduction Swaps

    Eco-cleaning isn’t just about ingredients; it’s about reducing waste. See the impact of switching from disposable to reusable cleaning tools.

    Chart shows illustrative annual waste comparison. Reusable items have near-zero waste.

    Your DIY Cleaning Toolkit

    All-Purpose Cleaner

    Perfect for countertops, sinks, and most surfaces (except stone!).

    Just mix 1 part water with 1 part white vinegar in a spray bottle. Add a few drops of essential oil for scent.

    Wood Furniture Polish

    Gently cleans and conditions wood furniture, leaving a natural shine.

    Combine 2 parts olive oil with 1 part lemon juice. Apply a small amount with a soft cloth and buff.

    Eco-Cleaning Processes in Action

    How to Clear a Slow Drain

    1

    Pour 1/2 cup of baking soda down the drain.

    2

    Follow with 1/2 cup of white vinegar. It will fizz!

    3

    Let it sit for 15-30 minutes to break down the clog.

    4

    Flush thoroughly with a kettle of hot (not boiling) water.

    How to Clean a Microwave

    1

    Add 1 cup water and 2 tbsp vinegar (or half a lemon) to a bowl.

    2

    Microwave on high for 3-5 minutes until it’s very steamy.

    3

    Let the bowl sit for 5 minutes. The steam will loosen grime.

    4

    Easily wipe the inside clean with a damp cloth. No scrubbing!

    Safety First! The “Do Not Use” List

    Natural doesn’t always mean safe for all surfaces or in all combinations. Here are the most important rules to follow.

    🚫

    DANGER: DO NOT MIX

    Never, ever mix Vinegar (an acid) with Bleach (a base). This creates toxic chlorine gas.

    🛑

    CAUTION: AVOID ON STONE

    Do NOT use Vinegar or Lemon Juice on natural stone like marble or granite. The acid will etch and dull the surface.

    SAFE: USE SEPARATELY

    Baking Soda and Vinegar are great partners, but don’t pre-mix them in a bottle. They neutralize each other and lose power.

    Front

    Back

  • 5 Professional Tips for a Sparkling Clean Oven

    5 Professional Tips for a Sparkling Clean Oven

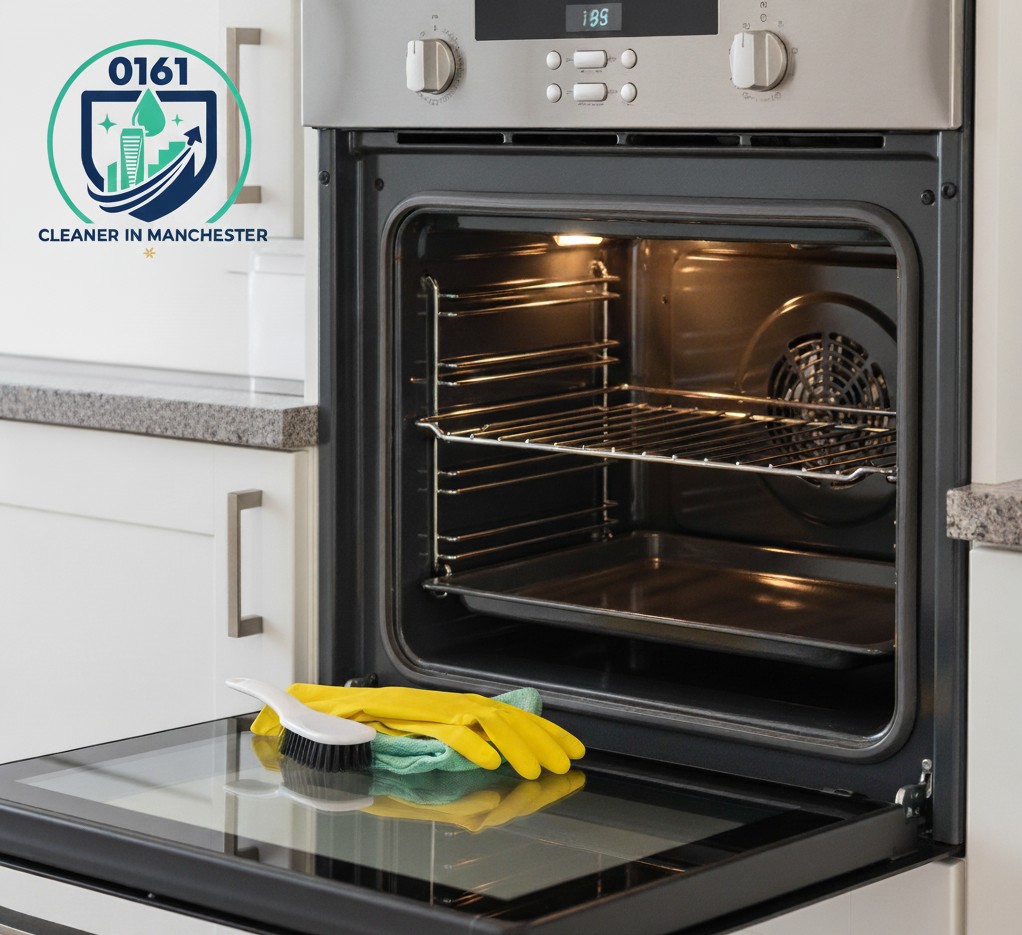
    Tackling the Toughest Job: 5 Professional Tips for a Sparkling Clean Oven

    From the 0161 Cleaner team | Published: 23 October 2025

    Let’s be honest—cleaning the oven is the one job everyone puts off. That baked-on grease and burnt-on food can seem like an impossible task. But as professional cleaners here in Manchester, we’ve learned that the secret isn’t about scrubbing harder; it’s about having a smarter, professional process.

    To help you get that showroom shine, we’re sharing the 5 expert tips our teams use to tackle even the toughest ovens. This is how you clean your oven like a pro.

    1. Preparation is Everything (Especially for Racks)

    A good job starts with good preparation. Before you even think about the oven itself, get those racks out. Place them in a bathtub or a large storage tub and cover them with hot water. Add a couple of dishwasher pods (yes, the ones for your dishwasher) and let them soak. The enzymes will do the heavy lifting, dissolving grease while you work on the main oven.

    Inside the oven, remove any large, loose bits of burnt food. A quick pass with a dustpan and brush or a hoover nozzle is perfect for this.

    2. Choose Your Cleaner Wisely (And Bust a Common Myth)

    You have two main paths: a powerful, heavy-duty oven cleaner spray, or a more DIY approach. Both work, but the DIY method has a common trap that we see all the time.

    Our Expert E-E-A-T Tip: The DIY Myth

    Please do not mix baking soda and vinegar together in a bowl. It’s a cleaning myth!

    When they foam up, they’re actually neutralising each other, leaving you with little more than salty water. It’s not an effective cleaner.

    The Professional DIY Method (Two Steps):

    1. Step 1 (The Abrasive): Mix baking soda with a small amount of water to create a thick paste. Spread this on the oven surfaces and use it to scrub. This paste acts as a gentle, effective abrasive.
    2. Step 2 (The Degreaser): After scrubbing, spray a solution of white vinegar, water, and a squirt of washing-up liquid to cut through any remaining grease and rinse.

    3. The Secret Ingredient: Patience (Dwell Time)

    This is the simplest, most-skipped step. Whether you’re using a chemical spray or the baking soda paste, you must let it sit. We’re not talking about 10 minutes. For a properly tough oven, we let the cleaner work for at least two hours.

    Be patient and trust the process. The cleaning agents are chemically breaking down the baked-on carbon and grease. This is what stops you from having to scrub yourself into exhaustion.

    4. Scrub Smart, Not Hard (And a Pro-Access Trick)

    After letting it dwell, you’ll see the grime is ready to lift. Use a non-scratch scouring pad (we prefer Scrub Mommy-style pads) to agitate the surfaces. The goal is to lift and extract the loosened grease, not to scratch your oven’s enamel. It’s a process of scrubbing, wiping with a damp cloth, and (for very stubborn spots) carefully using a razor blade scraper on the glass.

    Here’s a game-changer our teams use: remove the oven door. Most modern oven doors are designed to come off. Look for small latches on the hinges. Flipping these over allows you to lift the door right off, giving you far easier access to the back of the oven without leaning over a hot door.

    5. The Residue-Free Final Finish

    You’re almost there. The most important final step is to remove all of the cleaner residue. Get a fresh bucket of clean, warm water and a clean microfibre cloth. Wipe down every single surface inside the oven. Rinse your cloth frequently.

    This step is vital. It stops any streaks from forming and, more importantly, ensures no chemical smells or residue are left behind when you next turn your oven on.

    Finally, go back to your racks. The dishwasher pods will have worked their magic. Give them a quick scrub with a scourer, rinse them off, dry them, and put them back in your sparkling clean oven.

    The 0161 Cleaner Verdict

    Cleaning an oven is a tough job, but following a professional, step-by-step process makes all the difference. It’s about using the right products (and using them correctly!), having patience, and being thorough.

    Of course, if you’d rather spend your weekend enjoying Manchester than scrubbing an oven, you know who to call. Our domestic and end-of-tenancy cleaning teams are experts at this.

24/7 Customer Care